Facility · Step 4 of 13
Add your trainers
Add each trainer and send their invite. They choose their own sign-in.
About 5 minutes a trainer
Add each trainer who works with you. Adding them sends their invitation: a link where they choose their own username and password. You never set a password for anyone.
Add a trainer
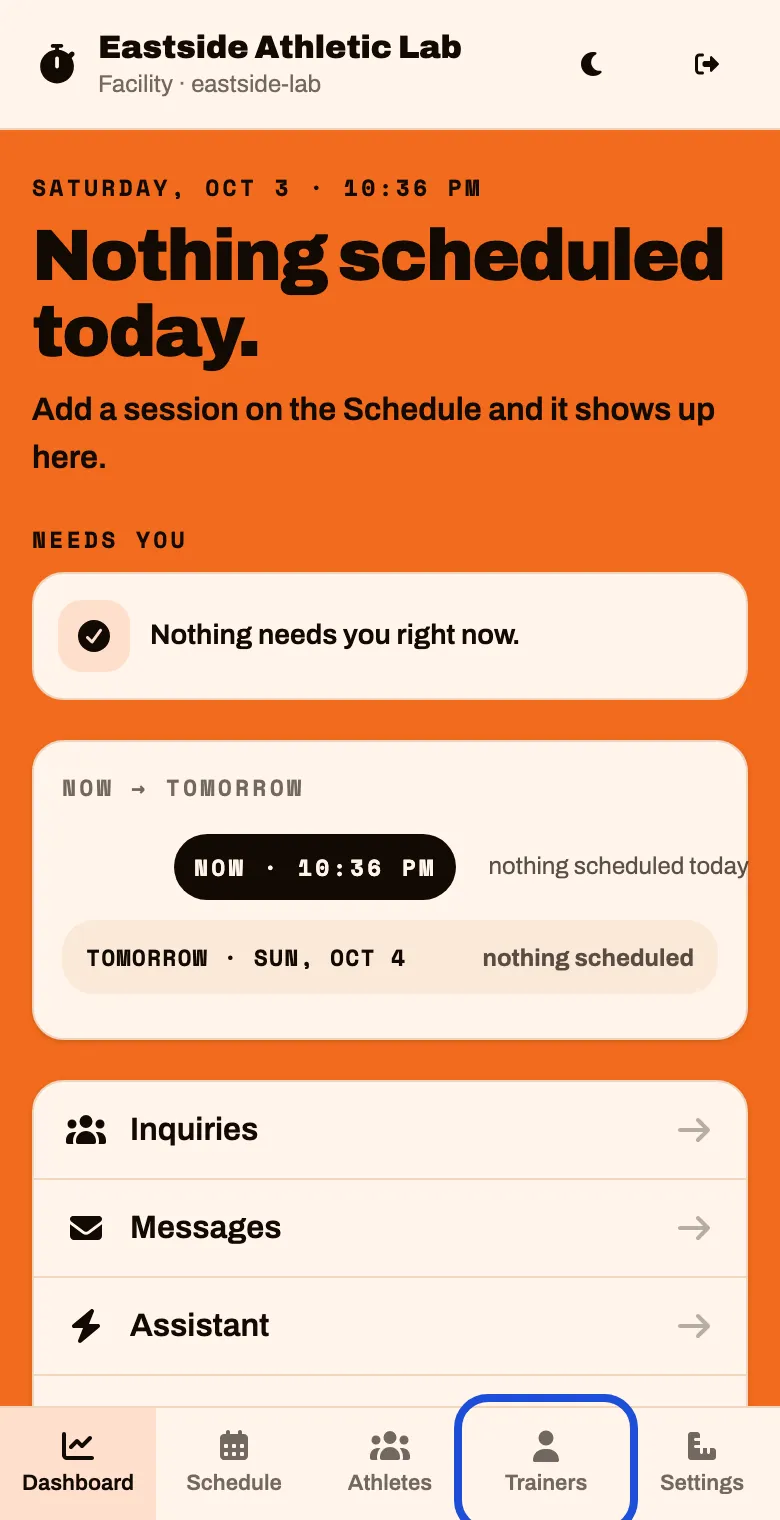
Tap Trainers in the bar at the bottom.
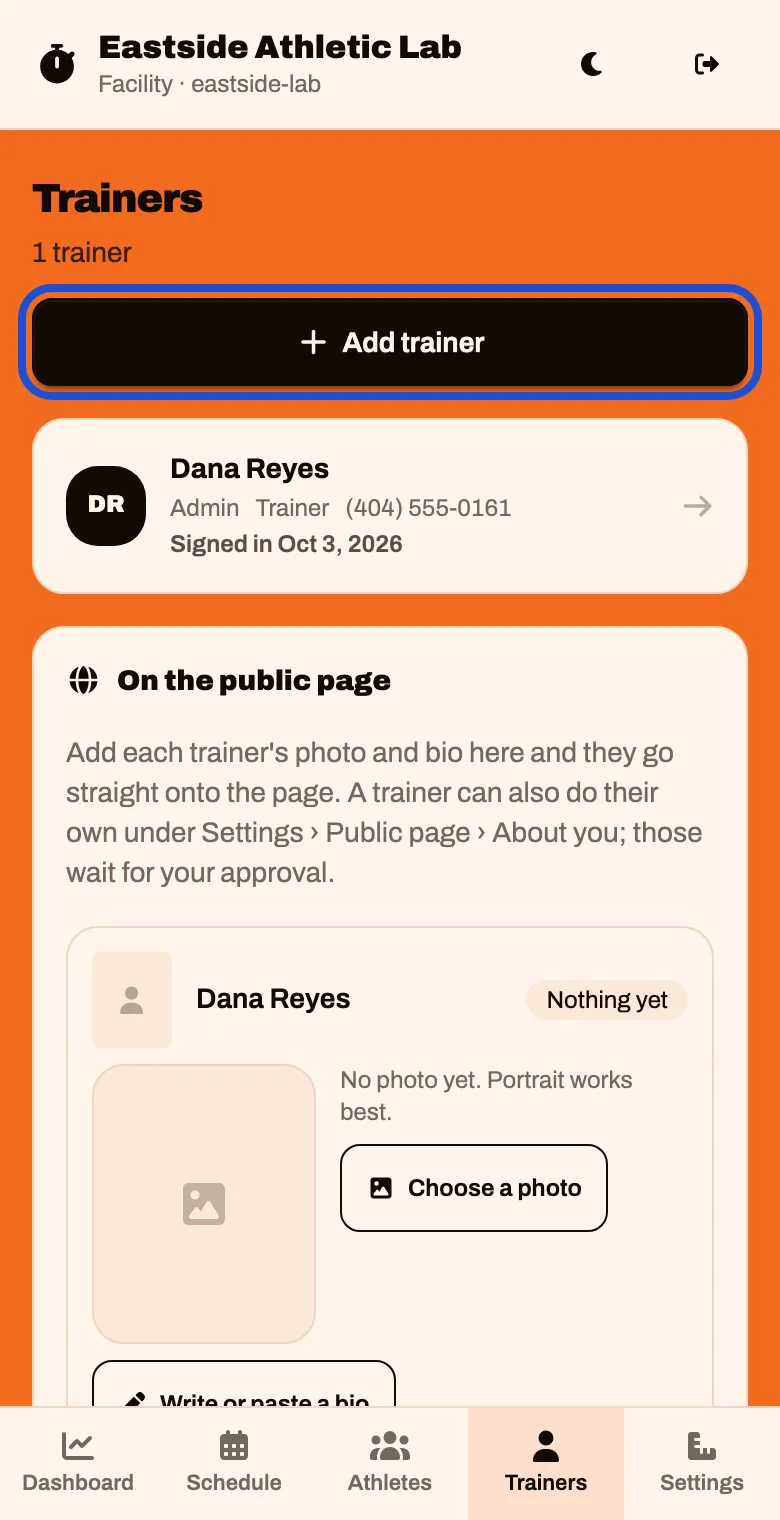
You are already on the list. You are a trainer and the facility’s admin.
Tap Add trainer
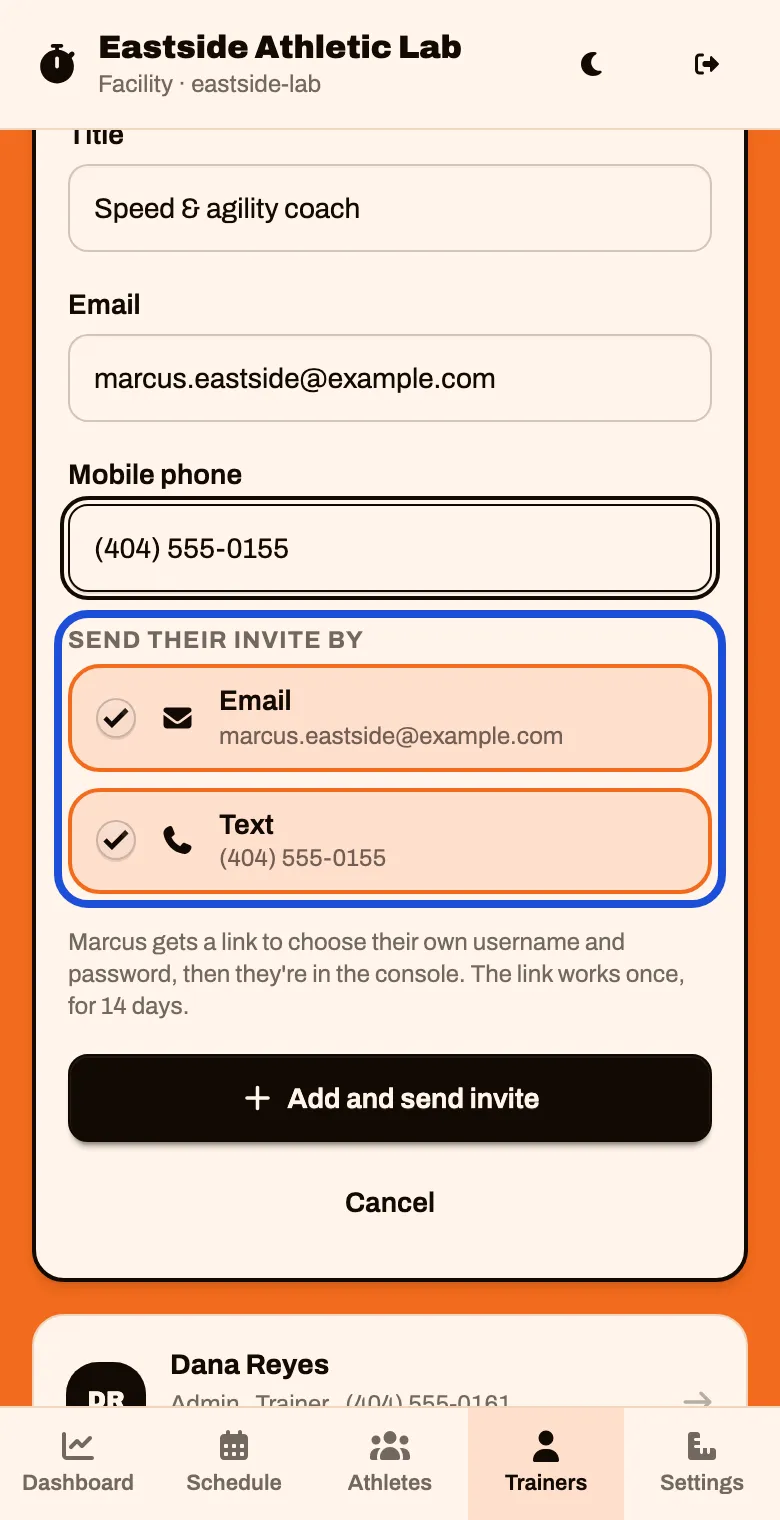
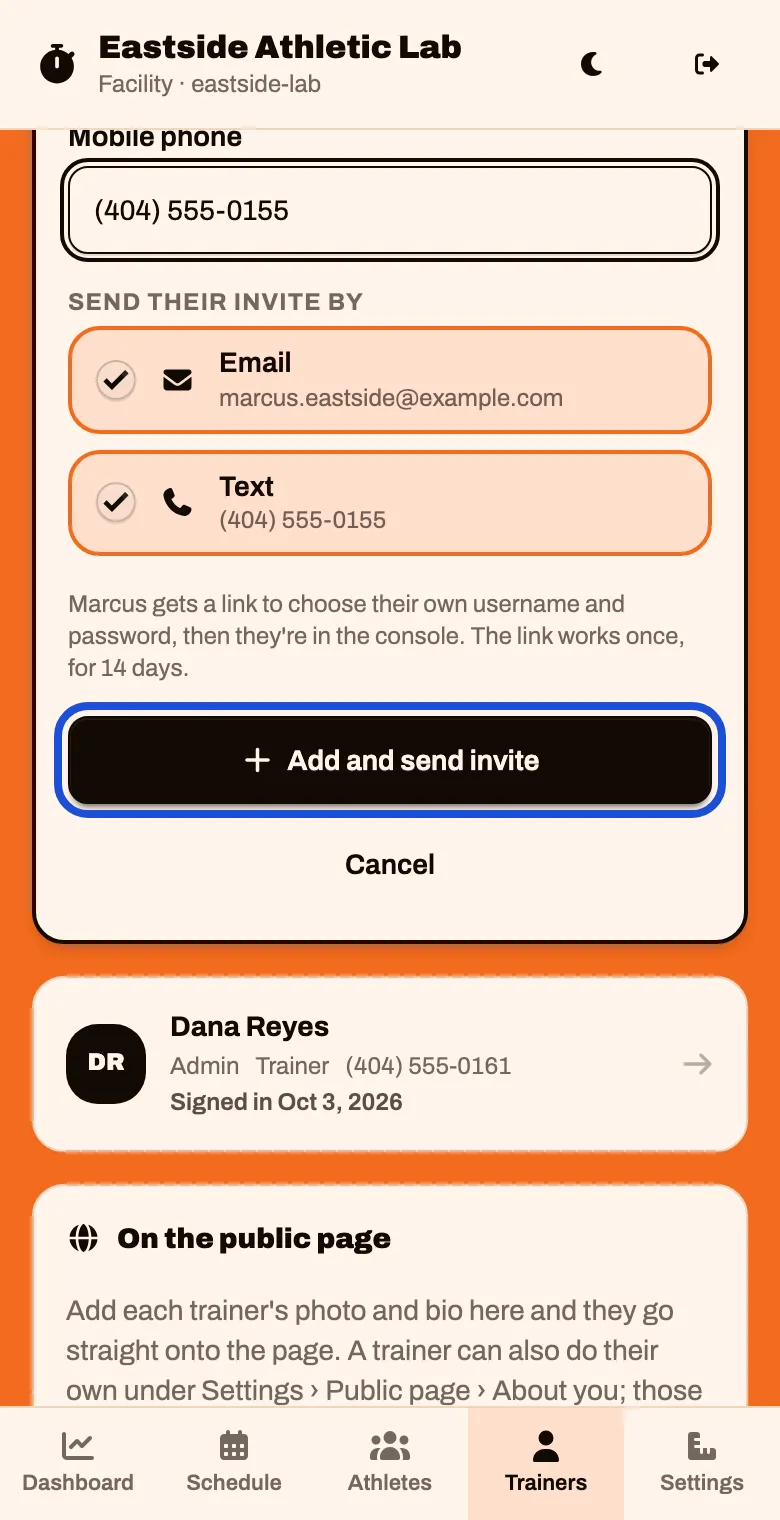
Type their Name, Title, Email and Mobile phone.
As soon as there is an email or a phone, Send their invite by appears with it ticked.
Tap Add and send invite
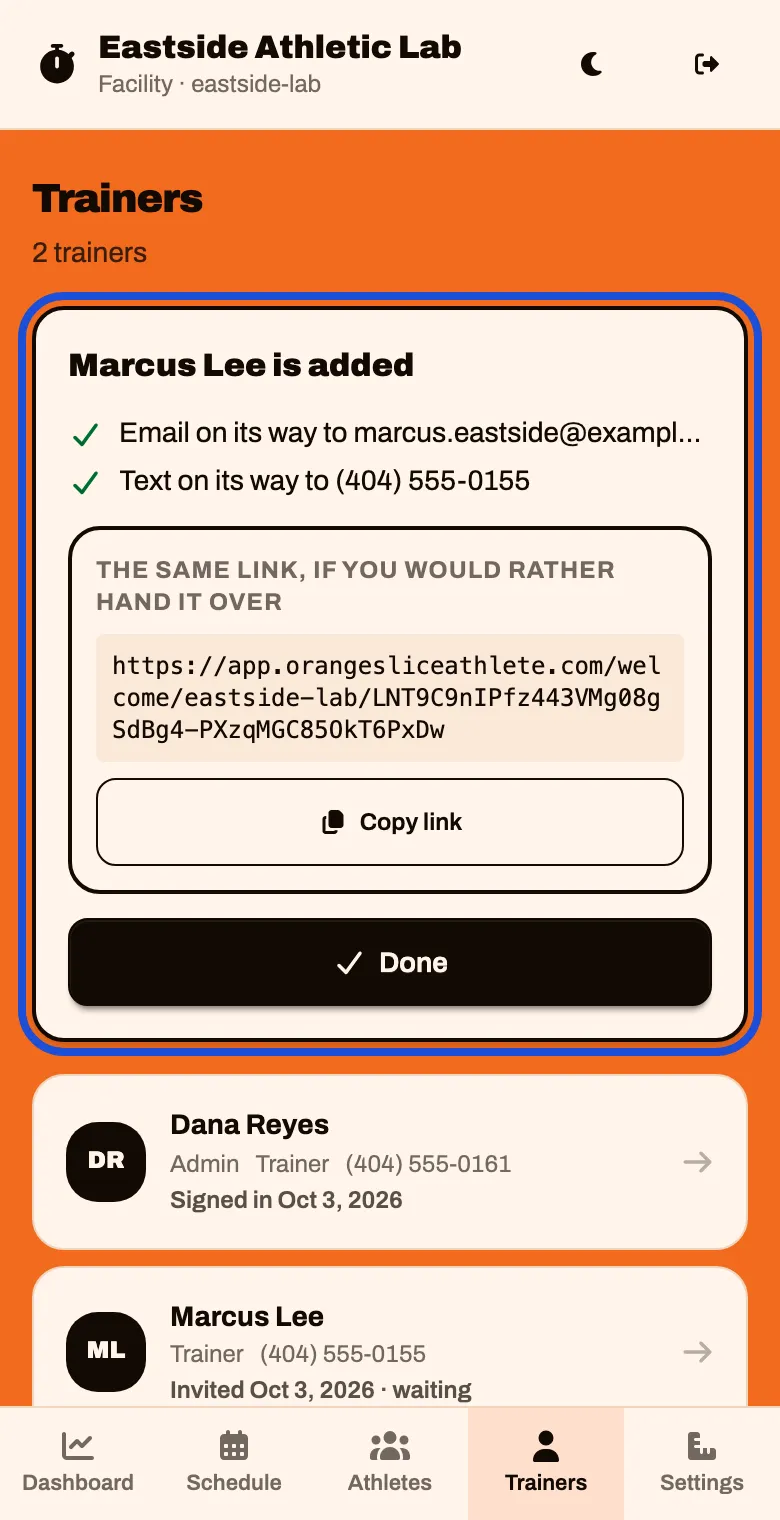
It confirms where the invite went, and shows the same link in case you would rather hand it over. Tap Done
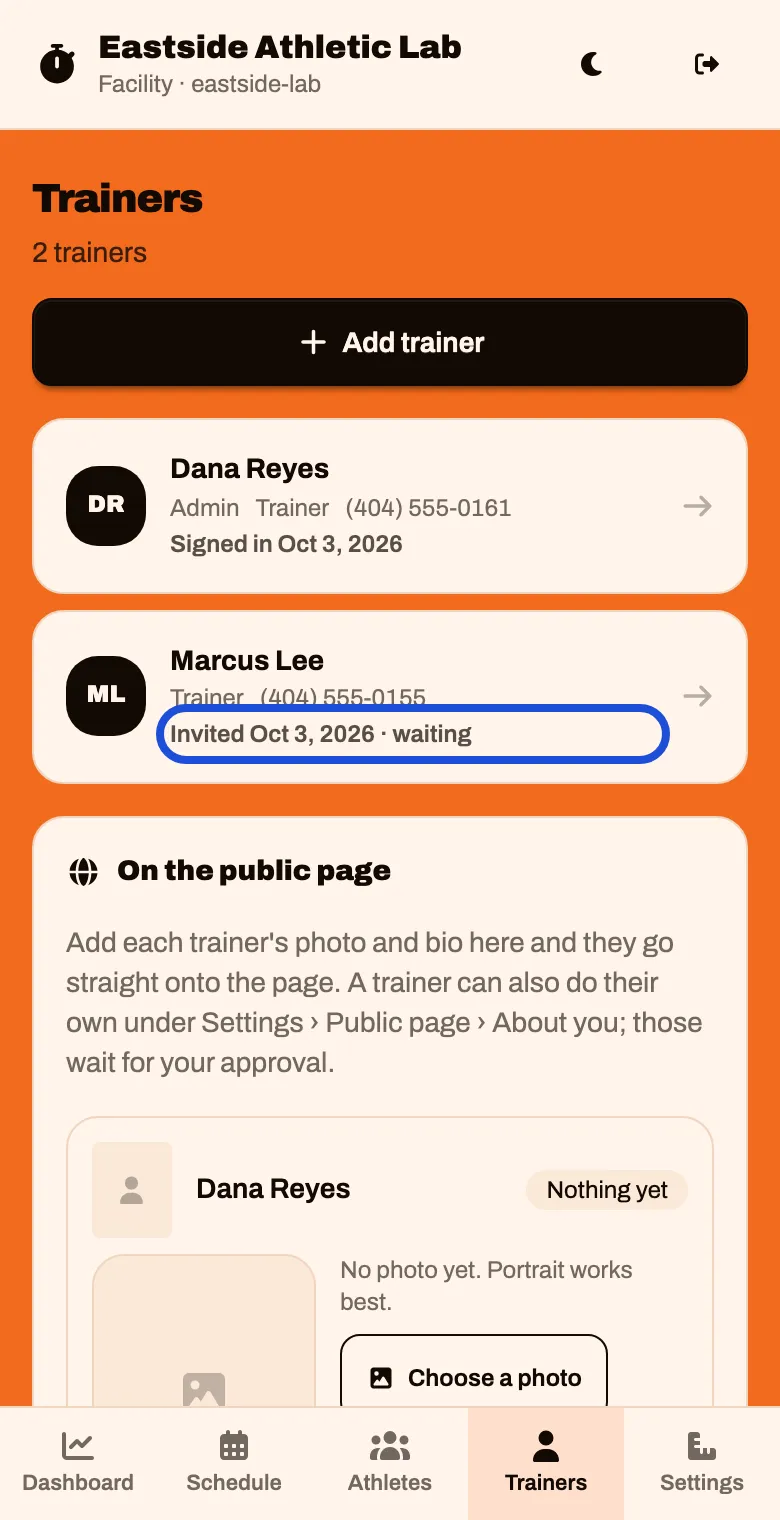
Their row says Invited … · waiting until they use the link.
Repeat for each trainer.
What the trainer gets
An email and a text from your facility, in your name, with the link and their first steps.
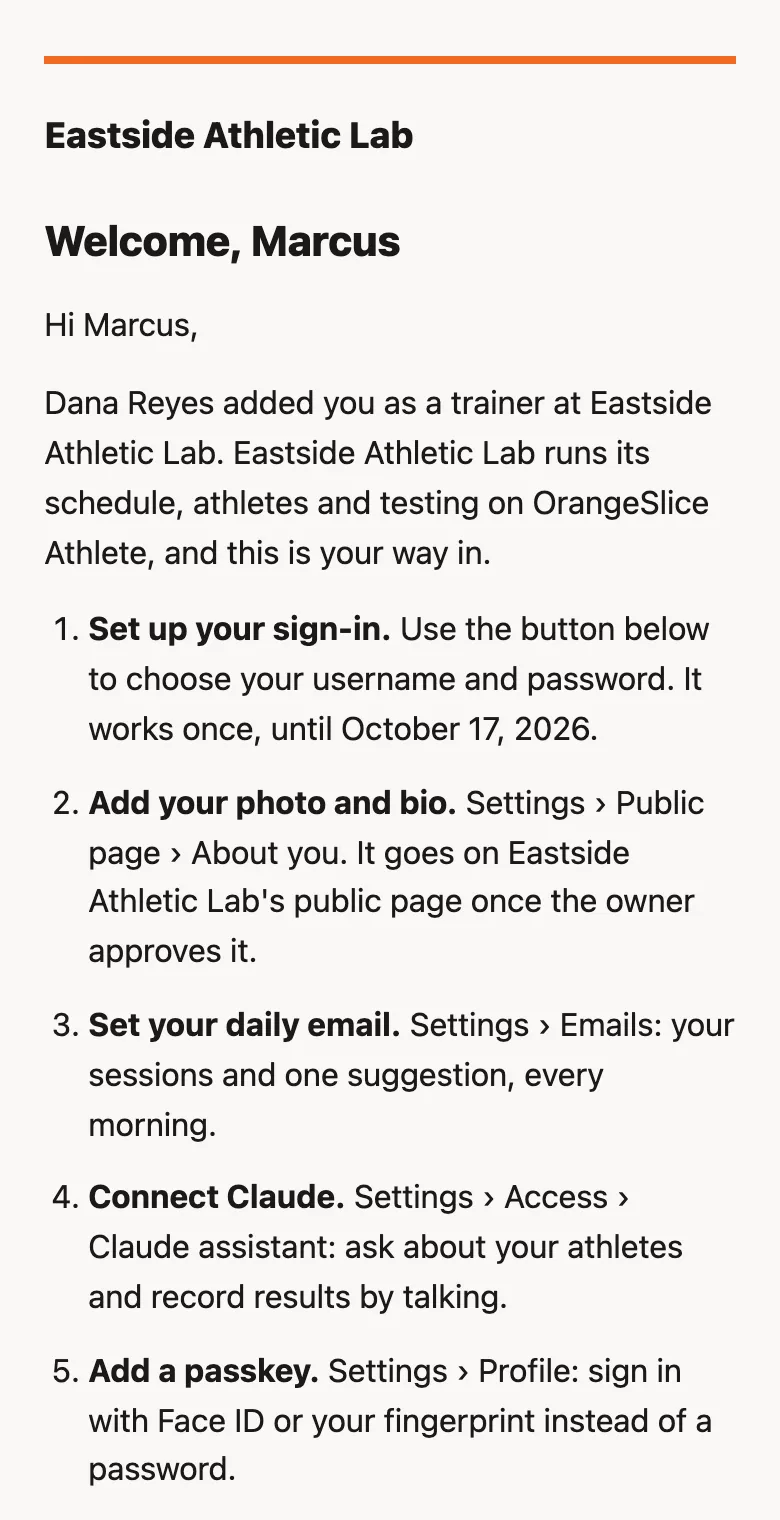
Send them You’ve been invited as a trainer as well. It walks them through their side.
See who has signed in
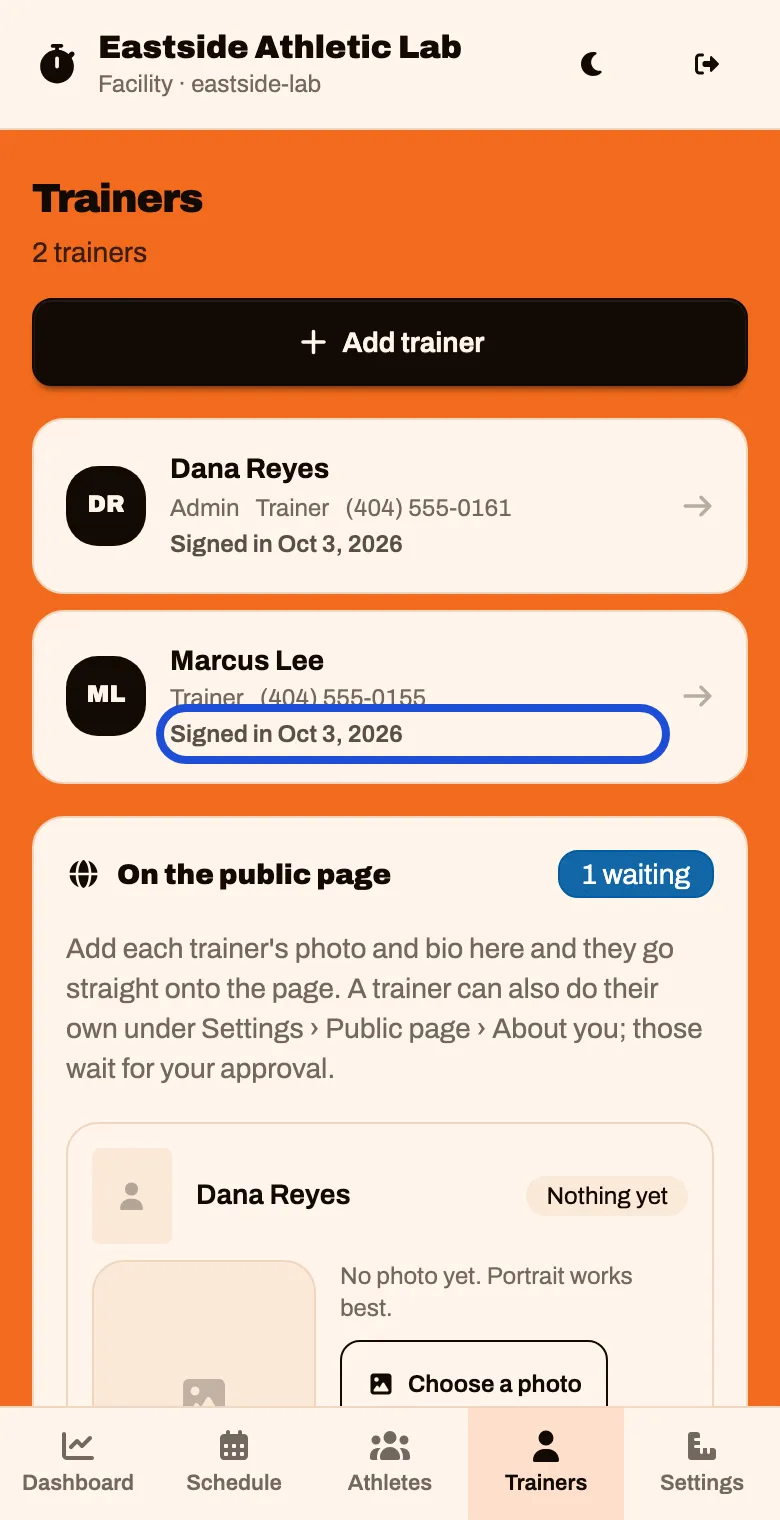
Open Trainers any time. Each row says where that trainer’s sign-in stands.
| The row says | It means | What to do |
|---|---|---|
| No sign-in yet | They were added but not invited | Open their record and send the invite |
| Invited … · waiting | The invite went. They have not used it | Nothing, or remind them |
| Invite expired … | 14 days passed | Open their record and send a new one |
| Signed in … | They are in | Nothing |
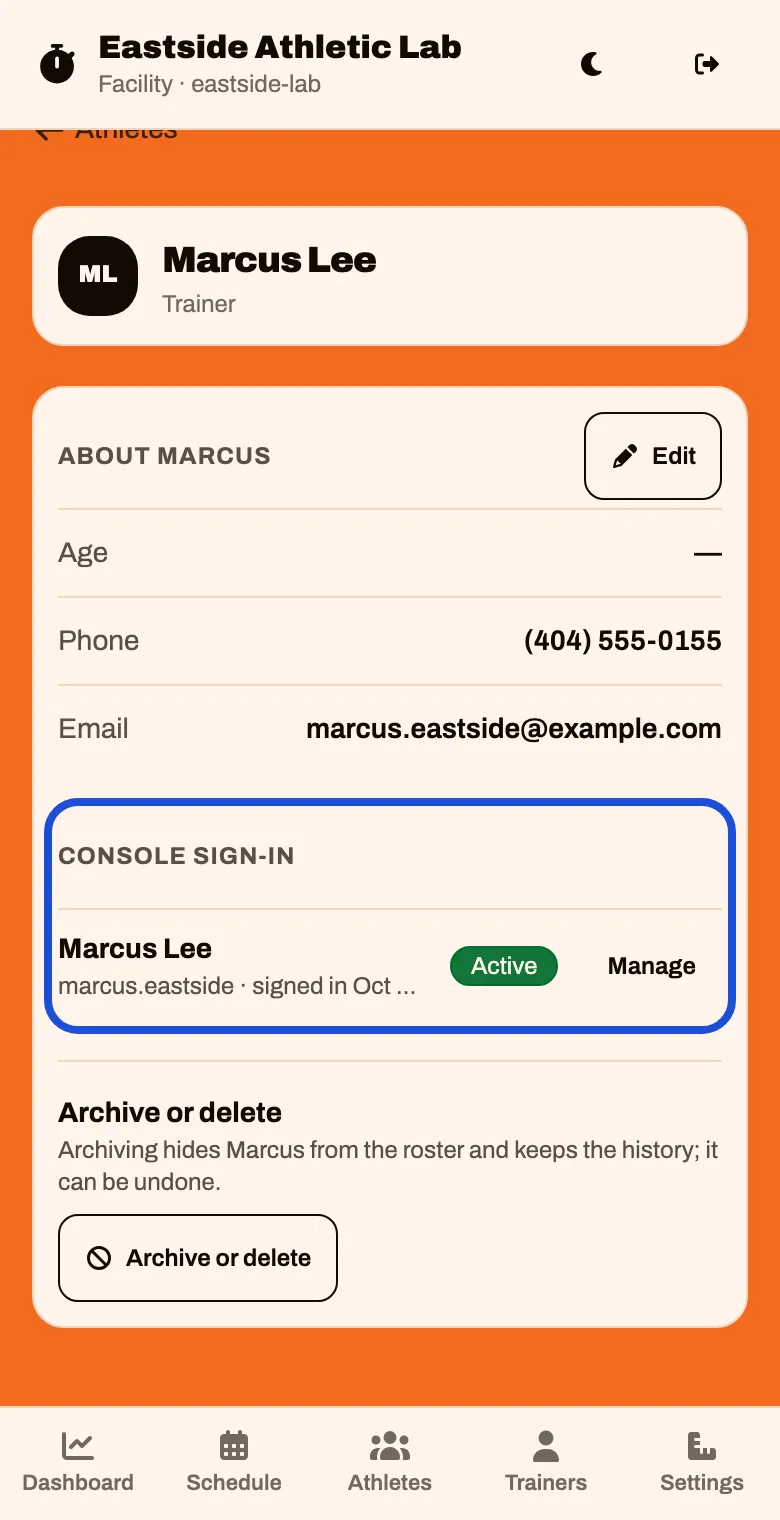
To send an invite again, tap the trainer. In Console sign-in, tap Invite or Resend, then Send invite on the next screen.
Approve their photo and bio
Each trainer writes their own photo and bio from their own sign-in. Nothing a trainer writes reaches your public page until you approve it.
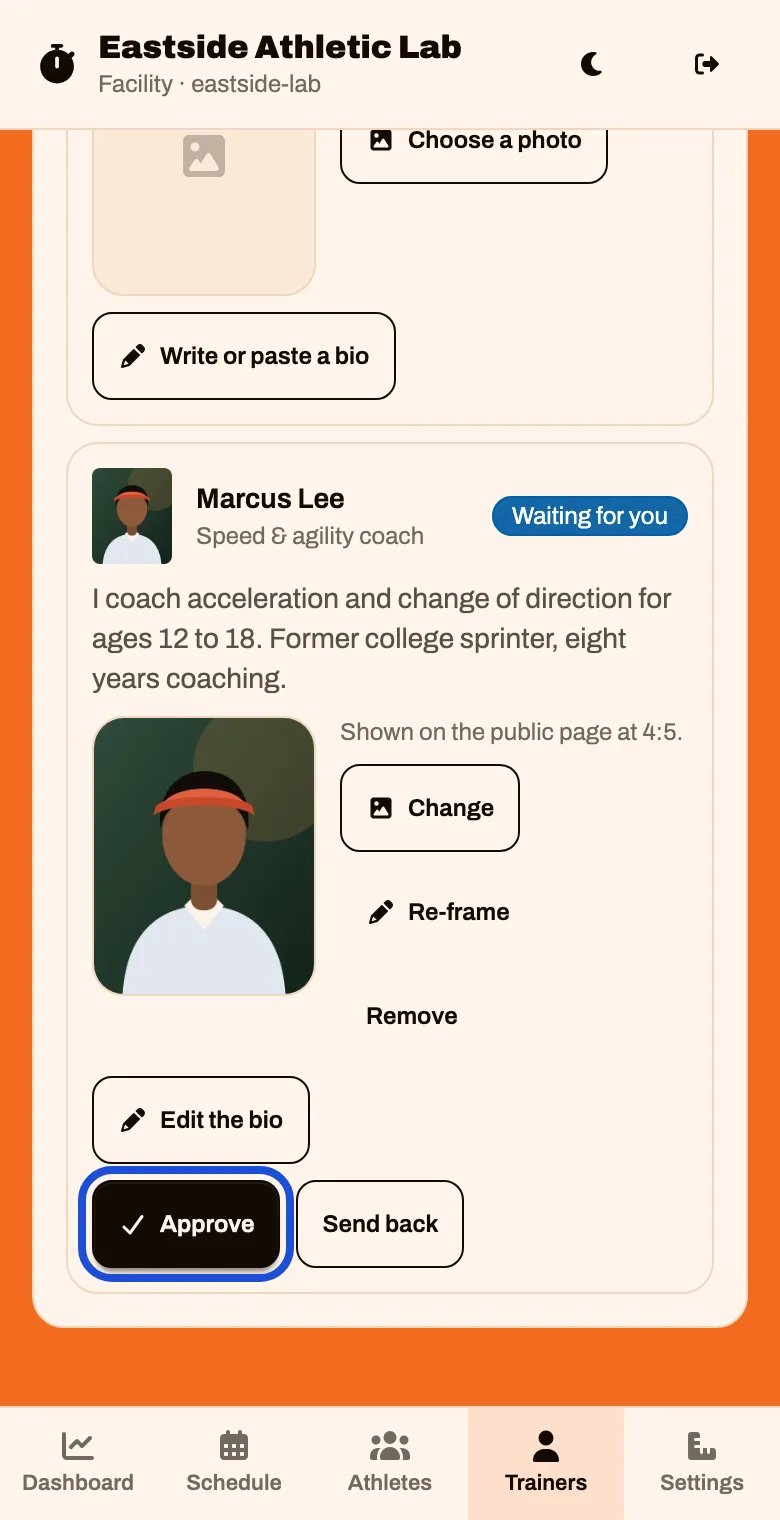
On Trainers, scroll to On the public page. A badge says how many are waiting. Read it, then tap Approve
To ask for changes, tap Send back and say what to fix. They see your note.
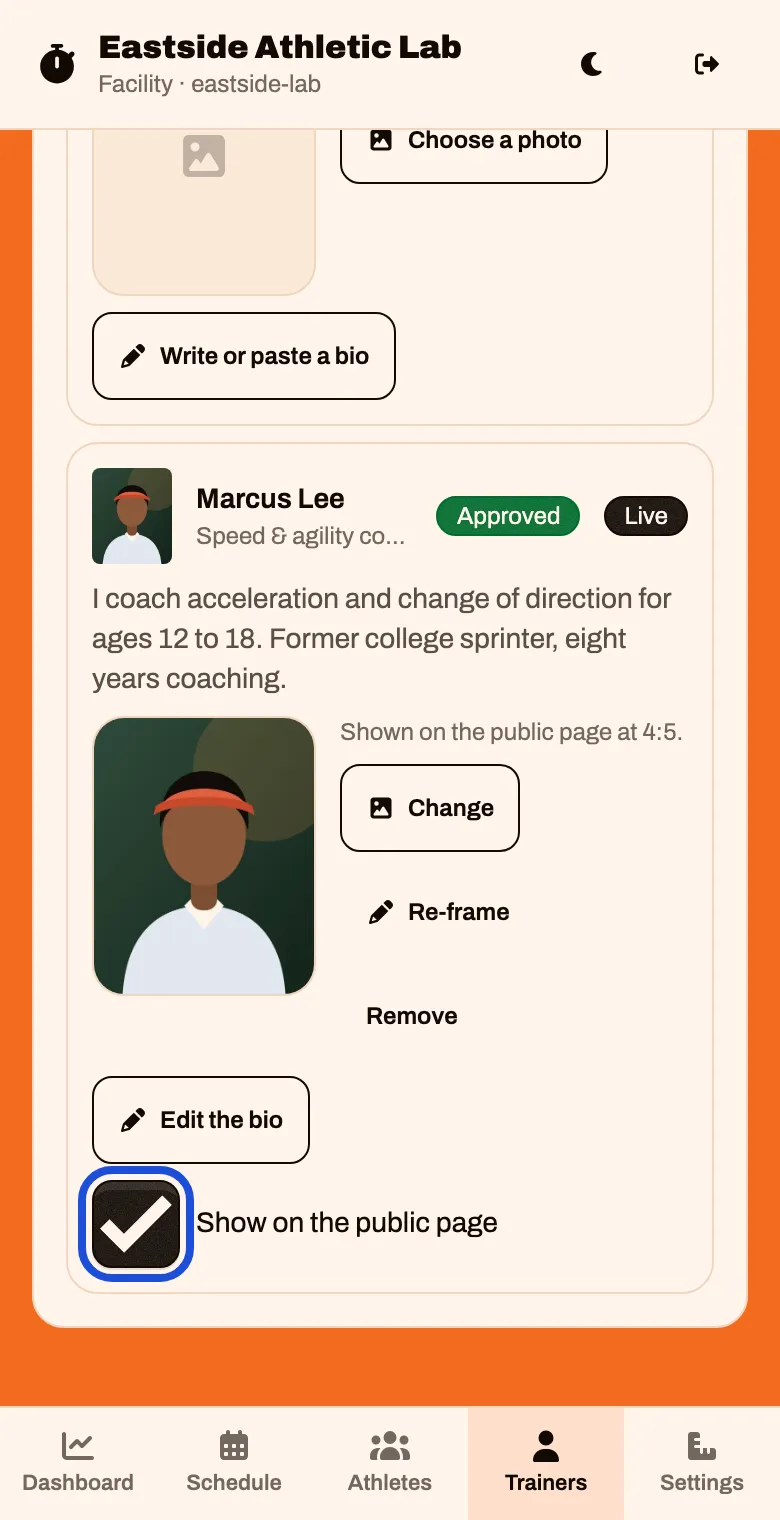
It is marked Approved, and Show on the public page is ticked. Untick it to keep an approved trainer off the page.
You can also do it for them: under their name, tap Choose a photo and Write or paste a bio. What you write goes straight on.
Who can do what
There are two kinds of staff: Trainer and Admin. You are both. Where the app says “the owner”, it means an admin.
| Trainer | Admin | |
|---|---|---|
| See the whole schedule and every athlete | Yes | Yes |
| Add sessions, take attendance, record results | Yes | Yes |
| Change settings, prices and the public page | Yes | Yes |
| Connect Stripe and refund a payment | Yes | Yes |
| Approve a trainer’s photo and bio | No | Yes |
| Get the “New inquiry” email | No | Yes |
| Delete photos from the library | No | Yes |
A trainer’s sign-in opens almost everything, so give one only to people you trust with your prices and settings.
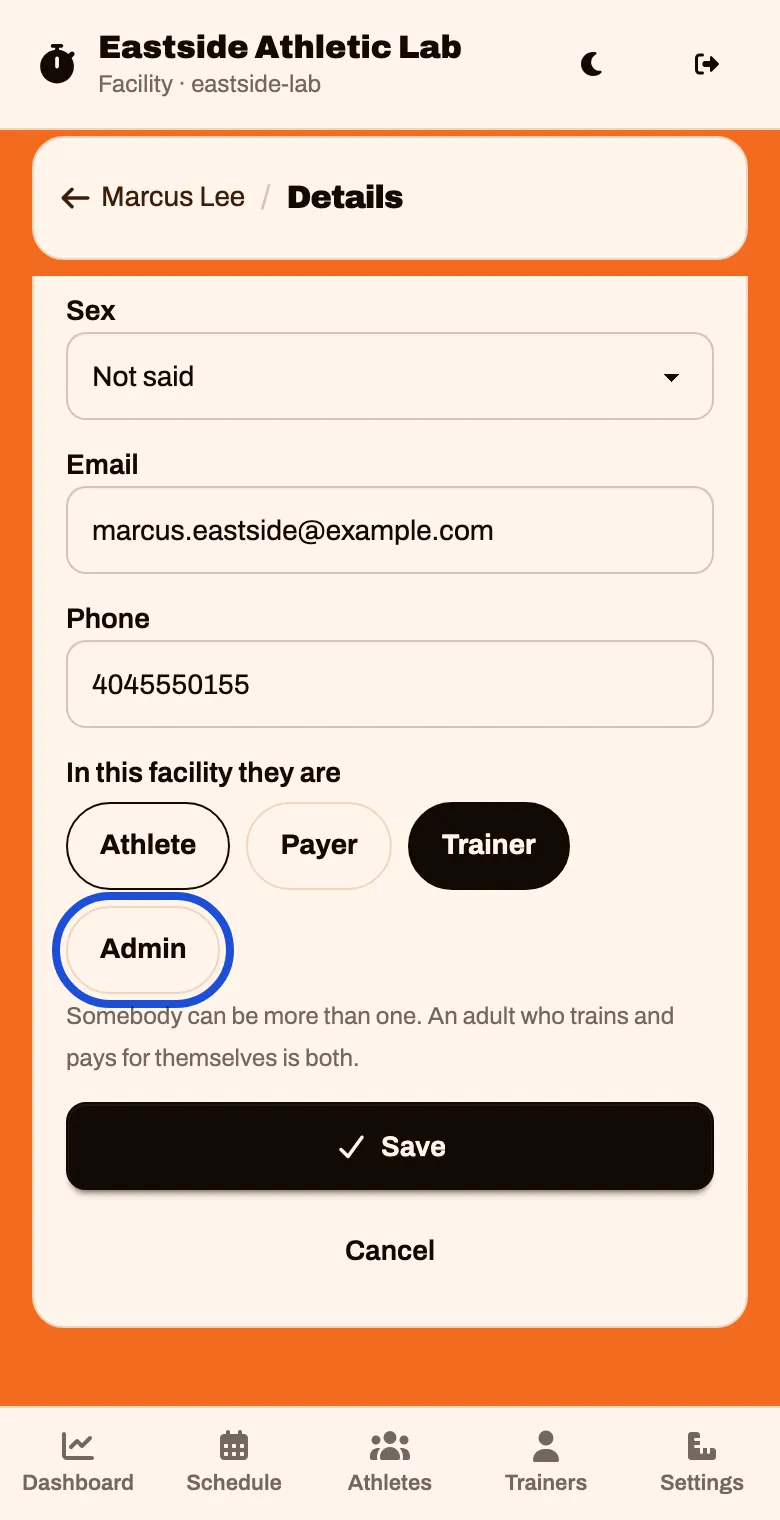
To make someone an admin too, open their record, tap Edit beside their details, tap Edit again, then tap Admin under In this facility they are and tap Save
It takes effect the next time they sign in.