Solo trainer · Step 8 of 12
Build your public page
The page new families find you on: your logo, your photo, your words.
About 30 minutes
Your public page is where a new family finds you and asks about training. It has its own address, which you can link from your website, your Instagram bio, or anywhere else. It never shows your prices or your schedule.
Everything you do here saves by itself. Nothing is public until you publish in the next step.
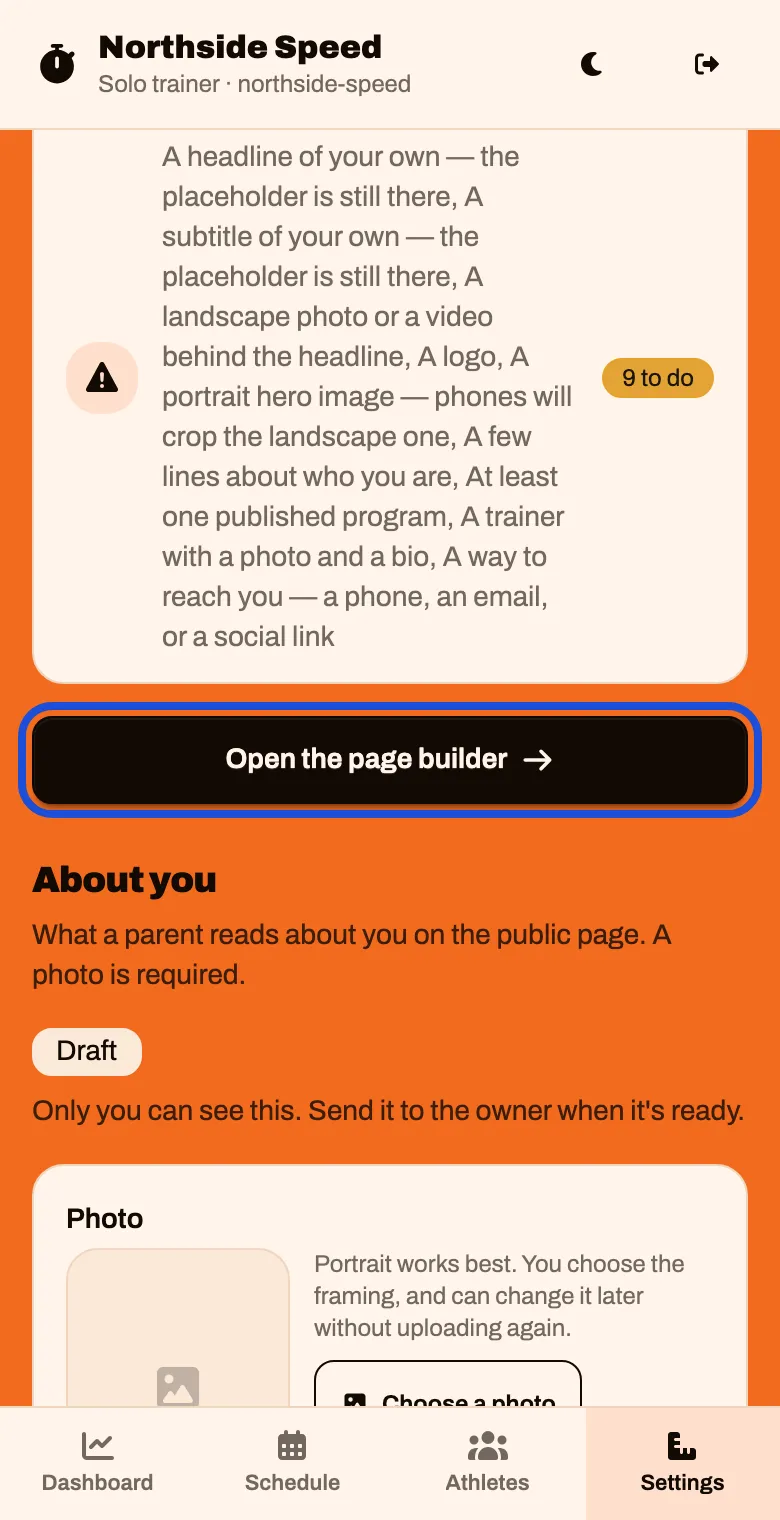
Open the page builder
Tap Settings, then Public page, then Open the page builder
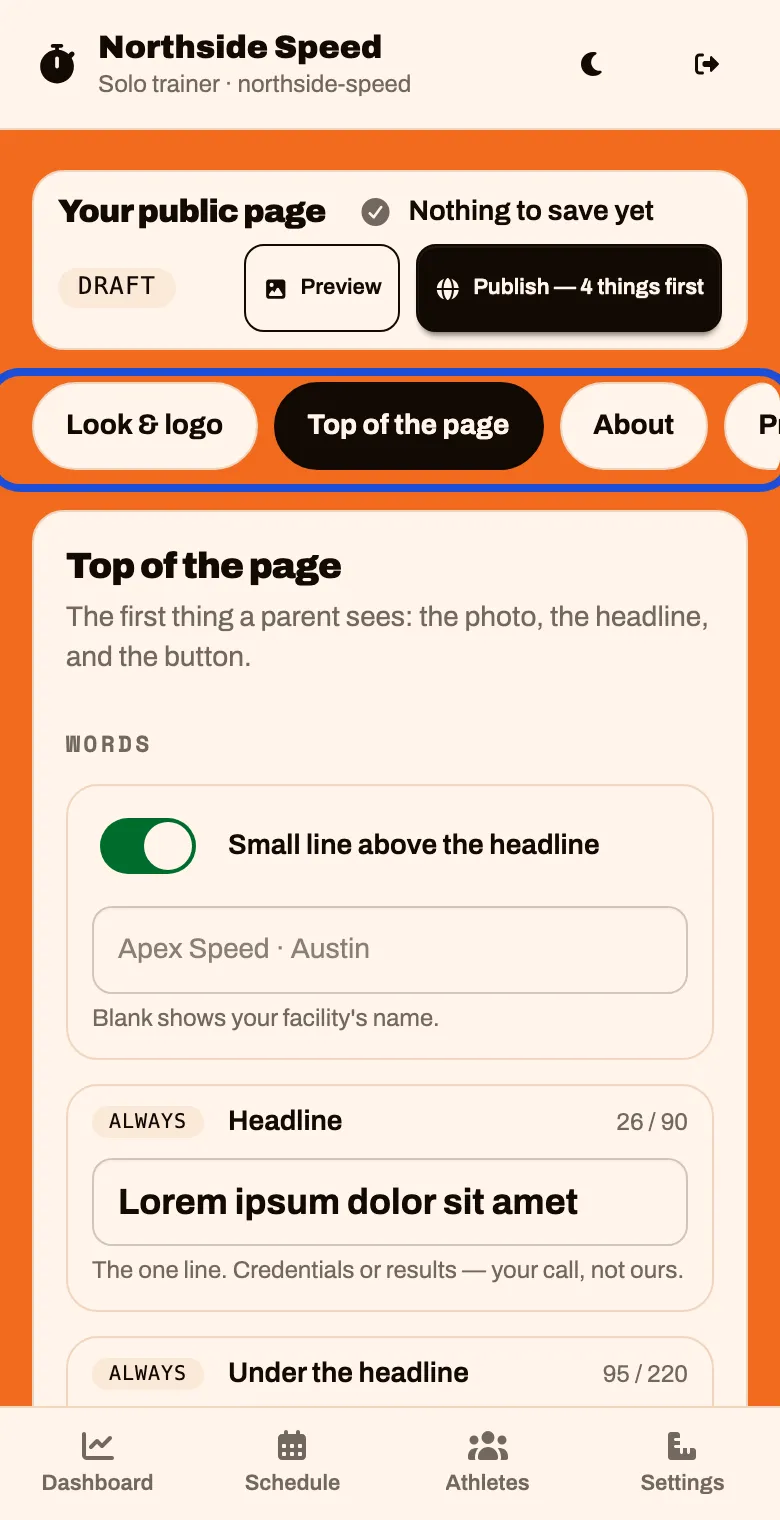
The row across the top lists the parts of your page. Tap a part to work on it. Swipe the row sideways to see them all.
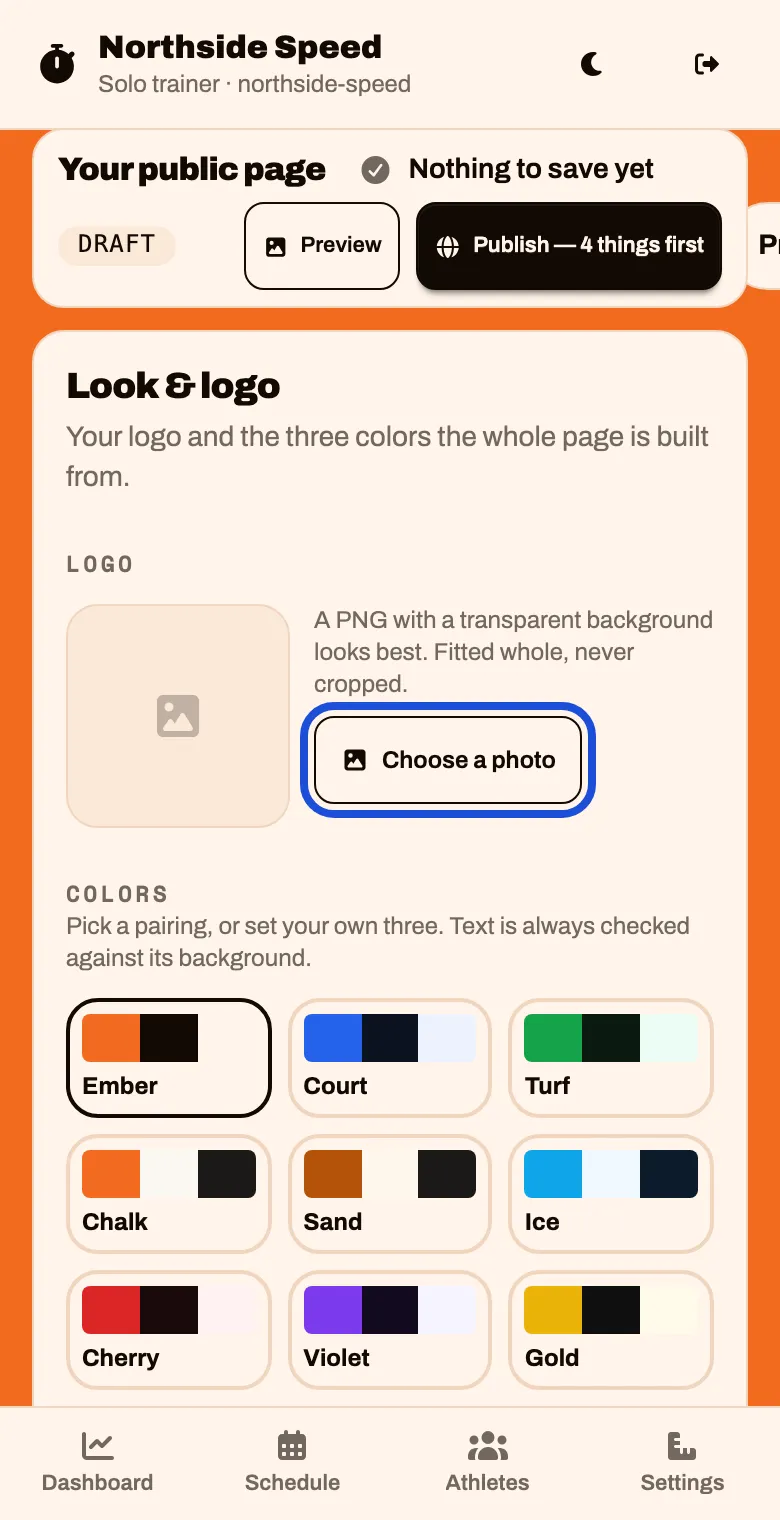
Look & logo
Tap Look & logo. Under Logo, tap the button to choose your logo from your phone, then tap Use this photo
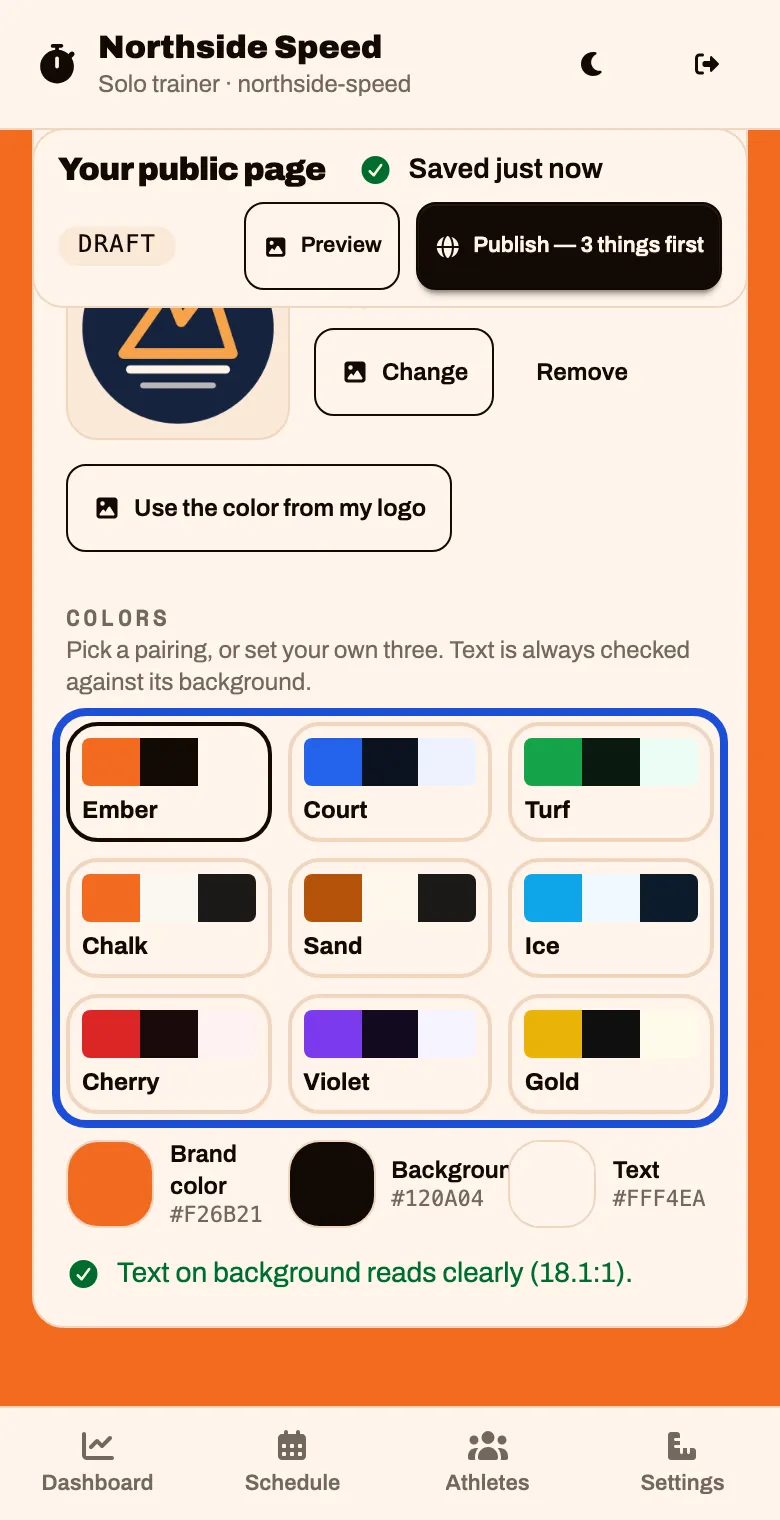
Under Colors, tap a pairing you like. A line under it tells you the text is readable on that background.
Want your logo’s own color? Tap Use the color from my logo
Top of the page
This is the first thing a parent sees: the photo, the headline and the button.
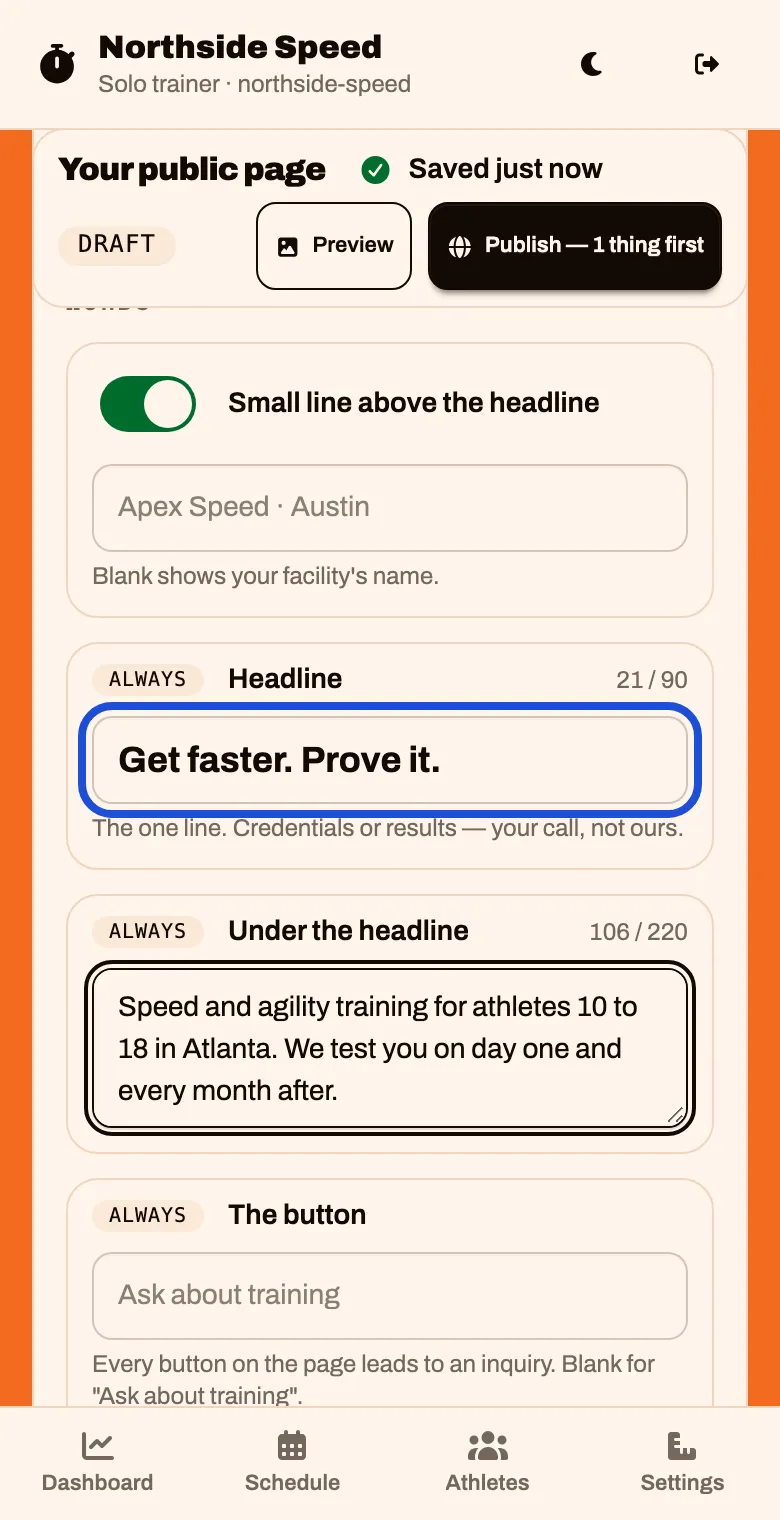
Tap Top of the page. Replace the Headline and the line Under the headline with your own words.
The page cannot be published while the sample words are still there.
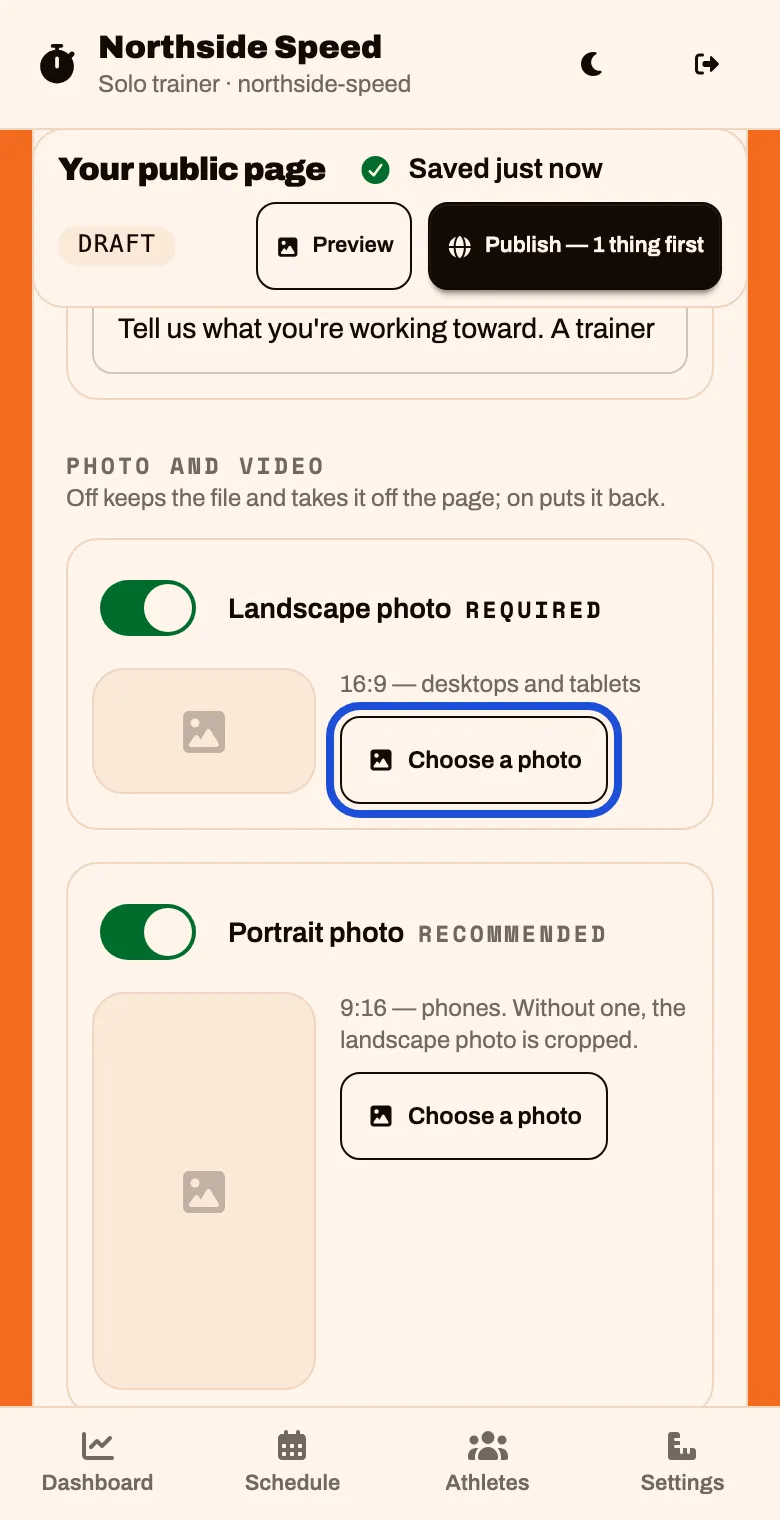
Scroll to Photo and video. Beside Landscape photo, tap Choose a photo. Pick it, tap Use this photo, set the framing, and tap Use this framing
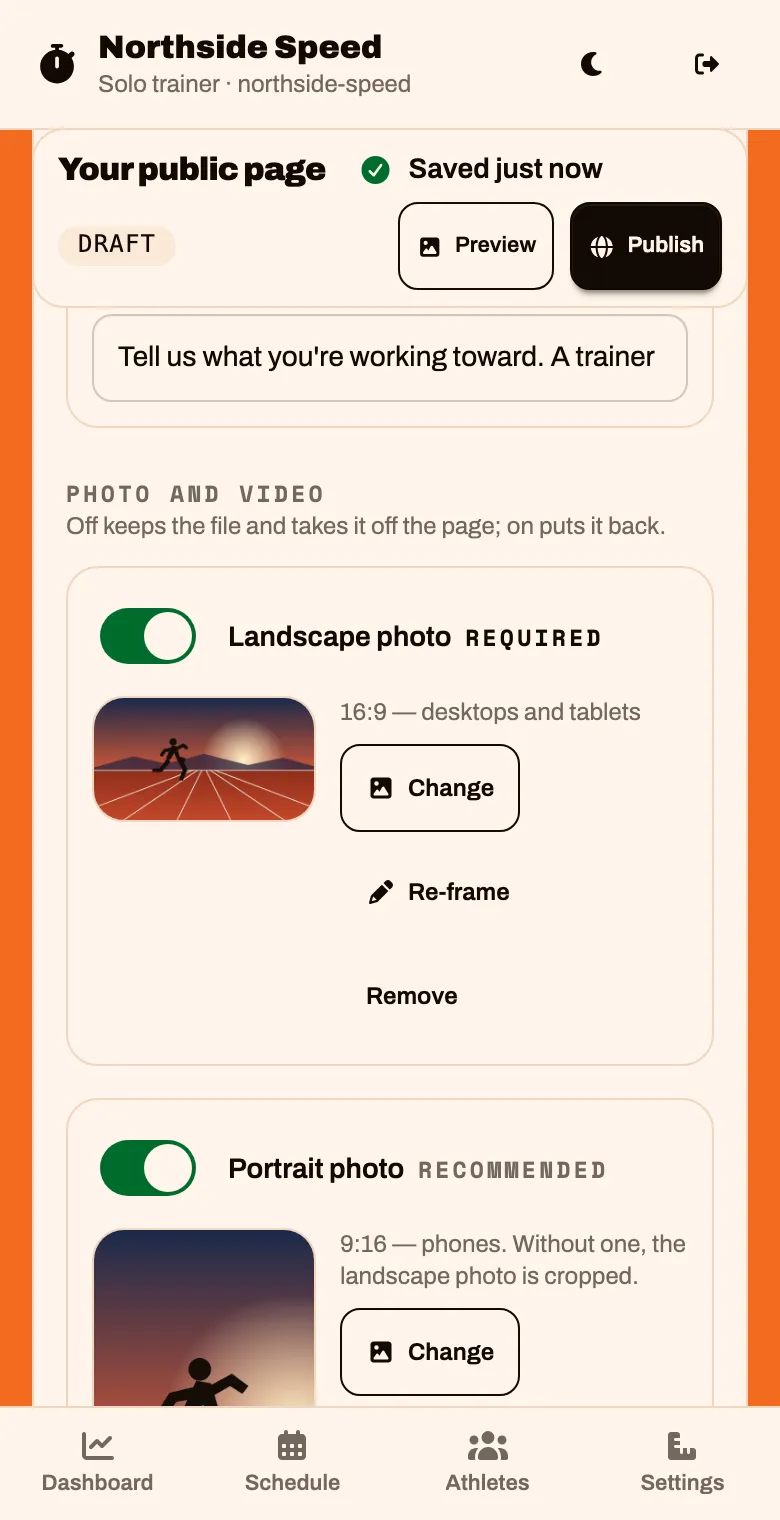
Do the same for Portrait photo. Phones show this one. Without it they crop the wide photo.
Every button on your page leads to an inquiry. It reads “Ask about training” unless you type your own words under The button.
About
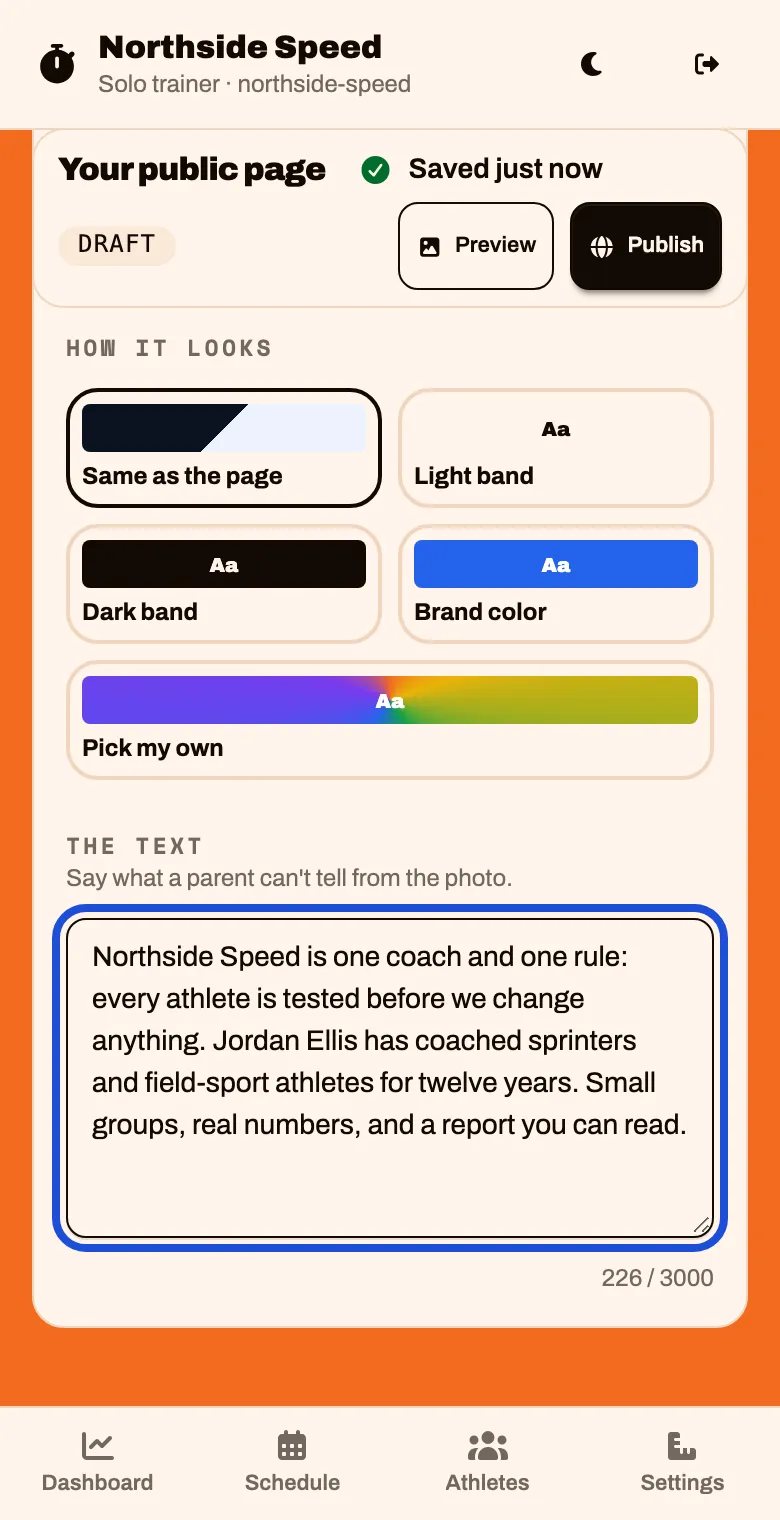
Tap About and write a few lines under The text. Say what a parent cannot tell from the photo.
Programs
A program is what you offer, in words: who it is for and what it covers. No prices.
Tap Programs, then Add
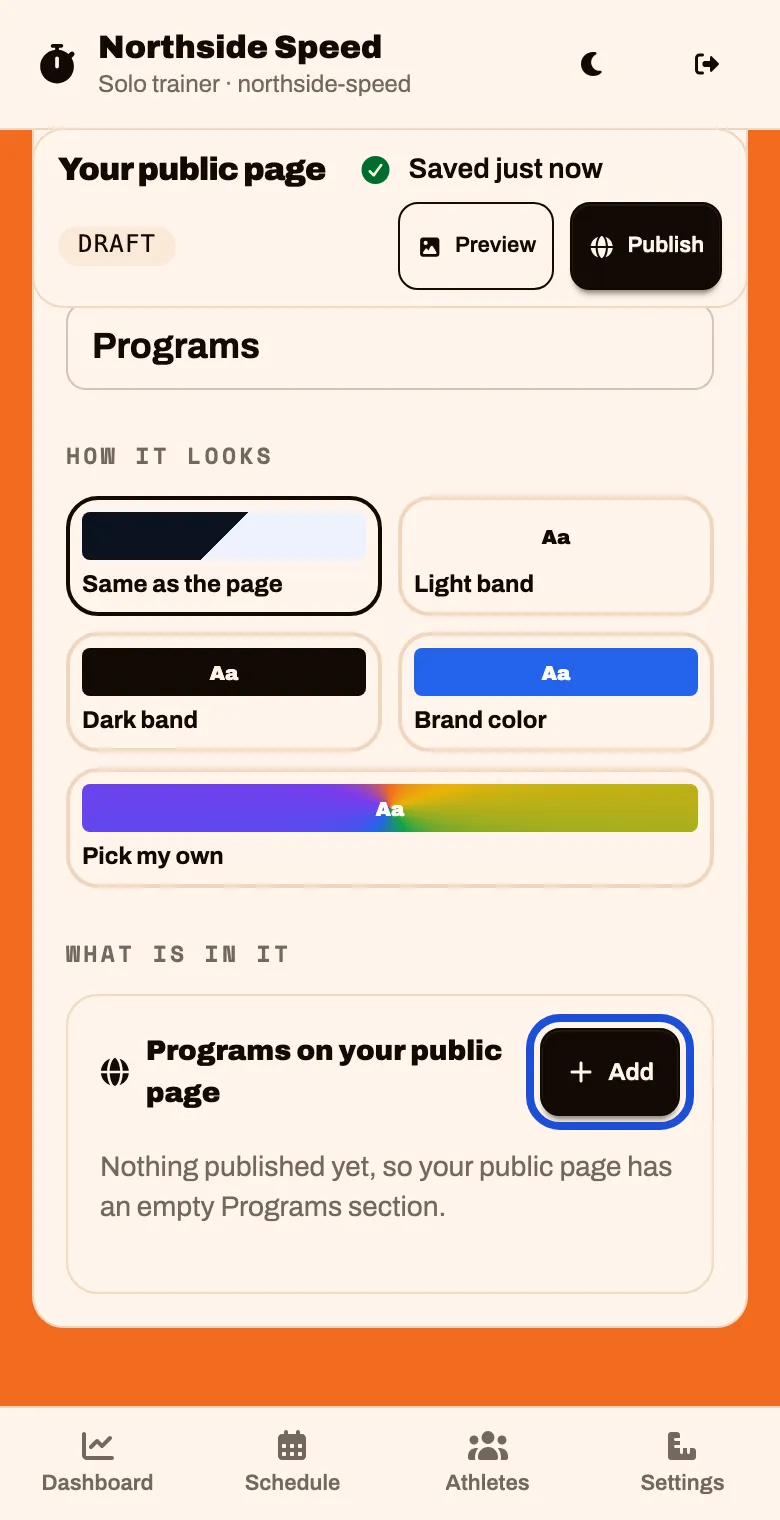
Fill in Name, What it covers and Who it’s for. Tap Save as a draft
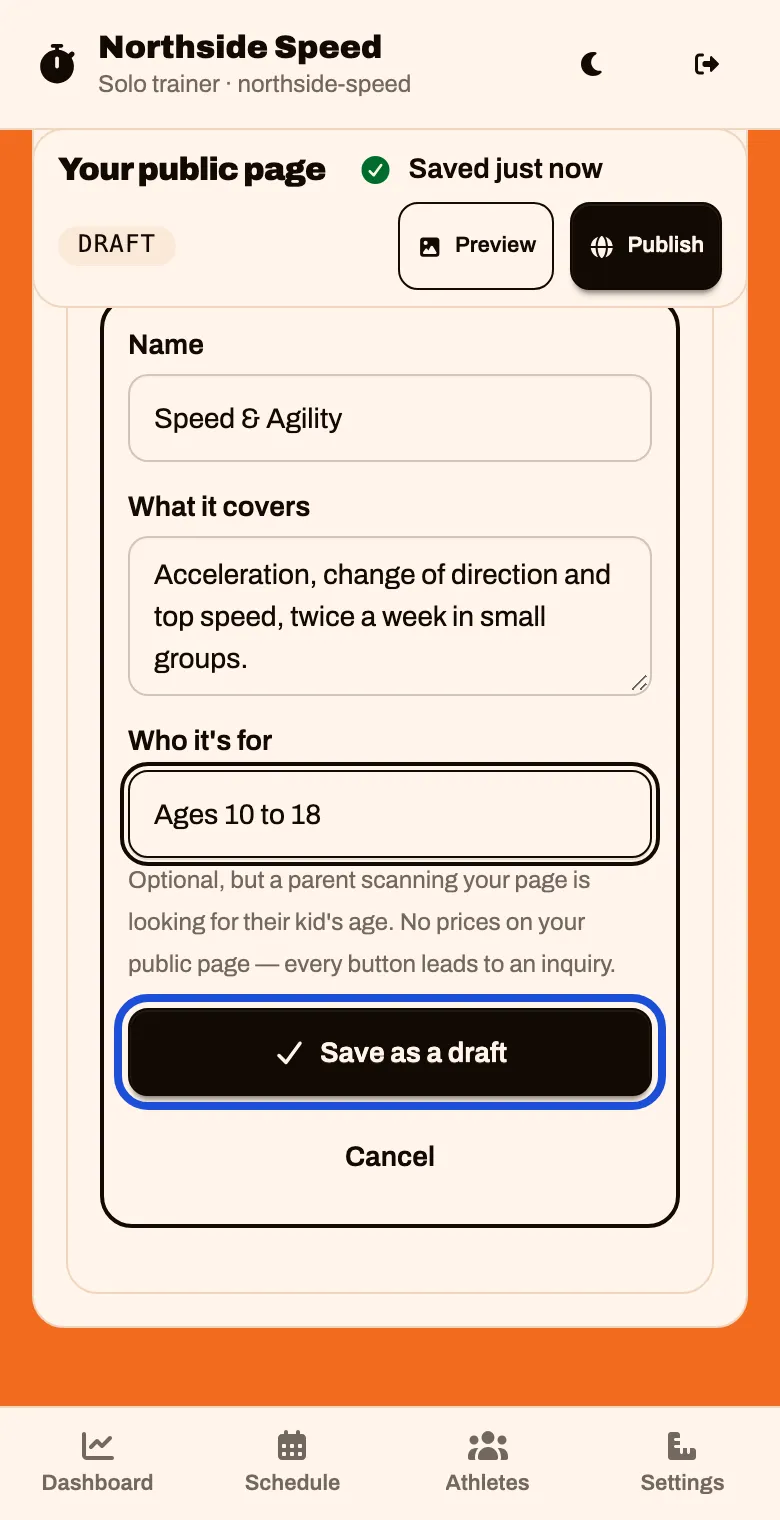
Tap Put it live so it shows on your page.
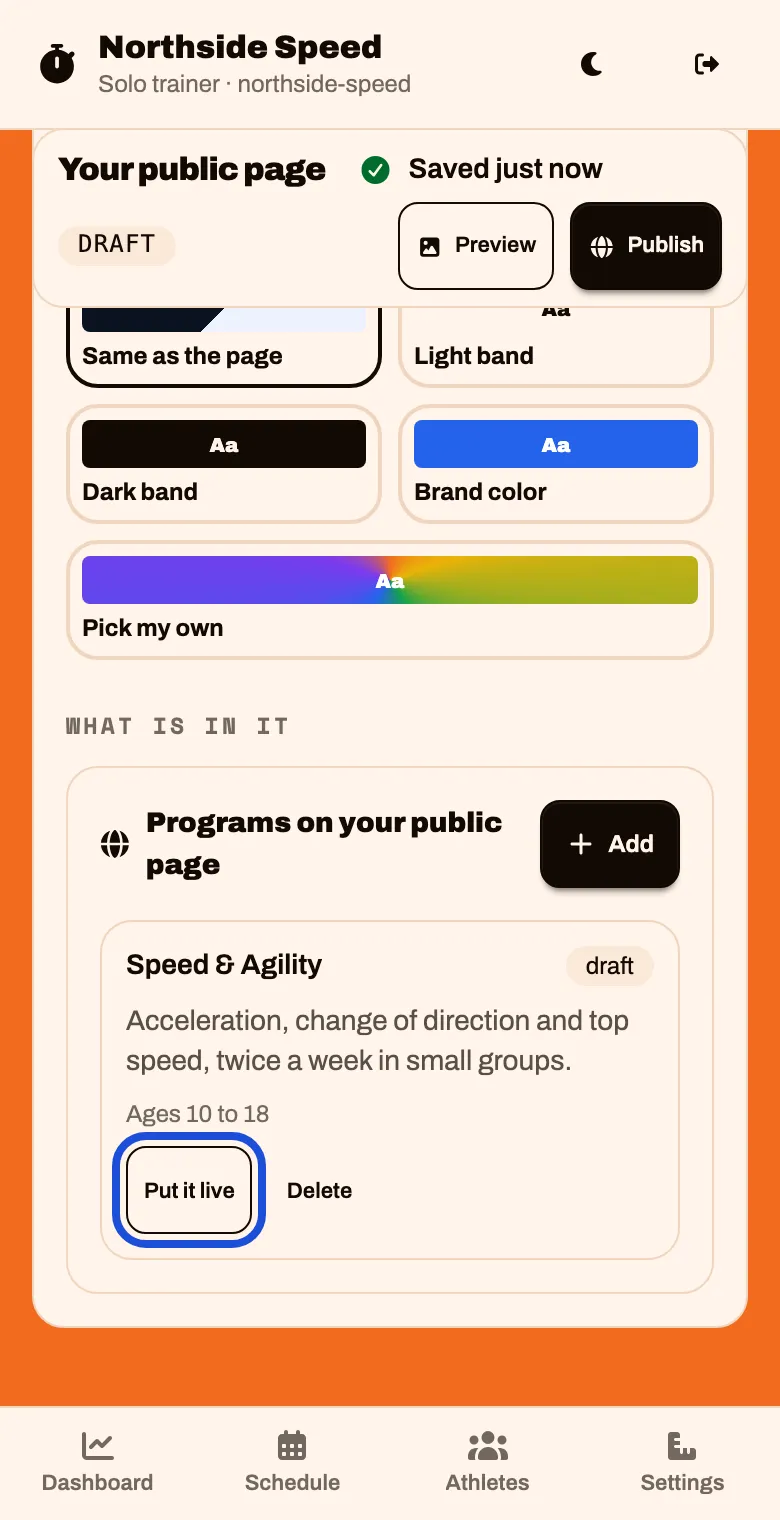
Where we train, and Get in touch
Tap Where we train. It already shows the place you set up in Set the basics.
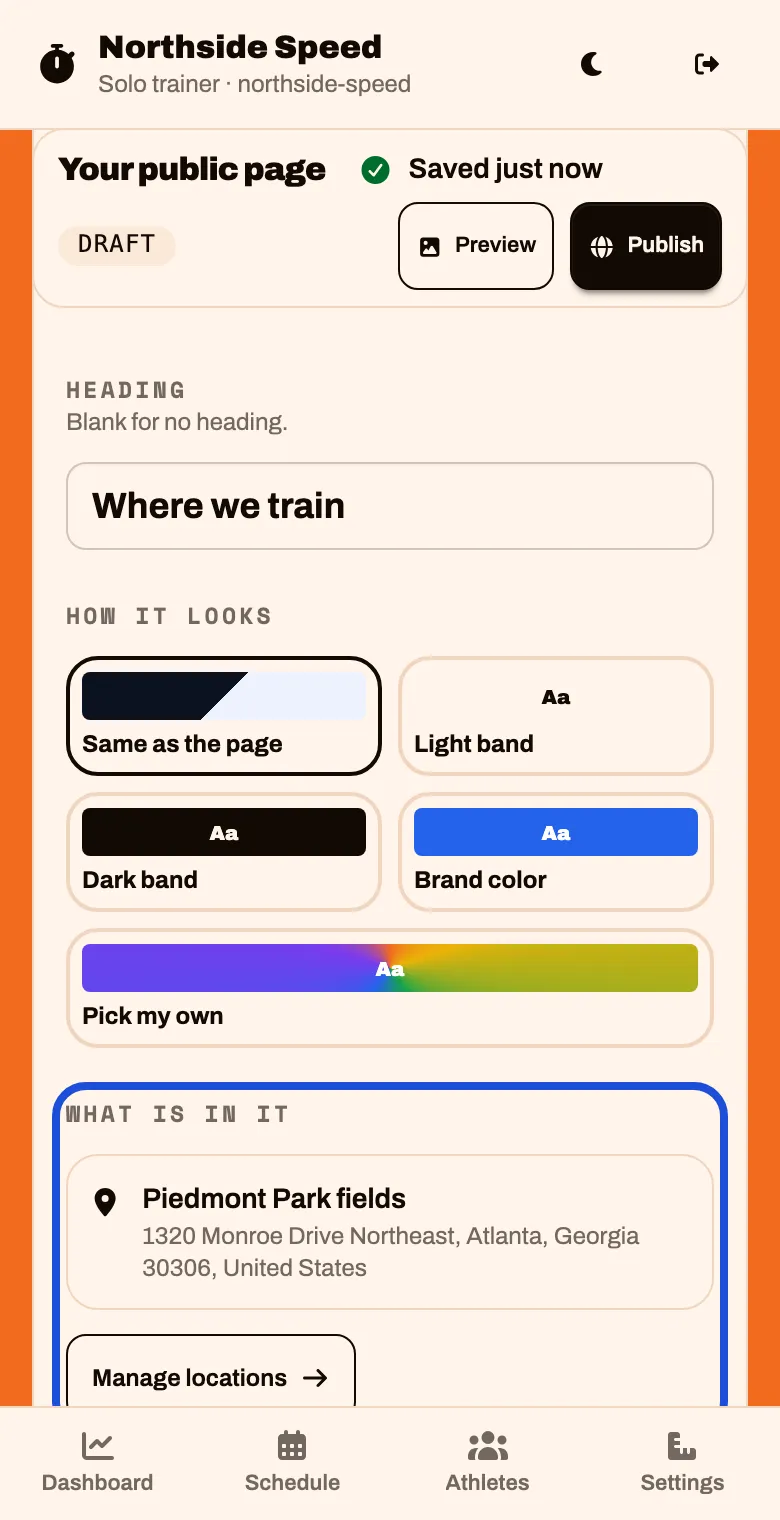
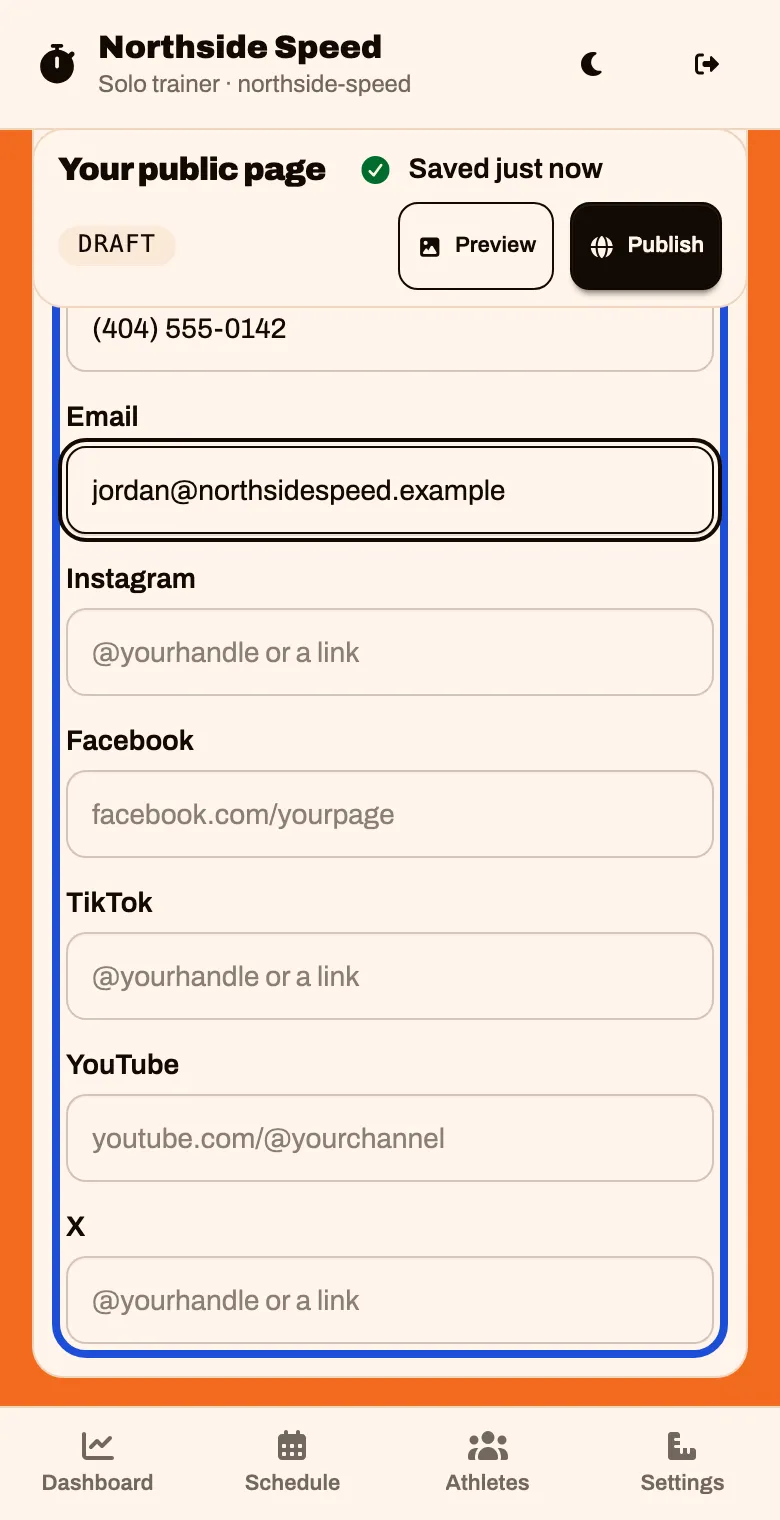
Tap Get in touch. Add a phone, an email, or your social accounts. One is enough.
About you
A parent wants to see who will be coaching. This part is in Settings, not in the builder.
Go back to Settings › Public page and scroll to About you.
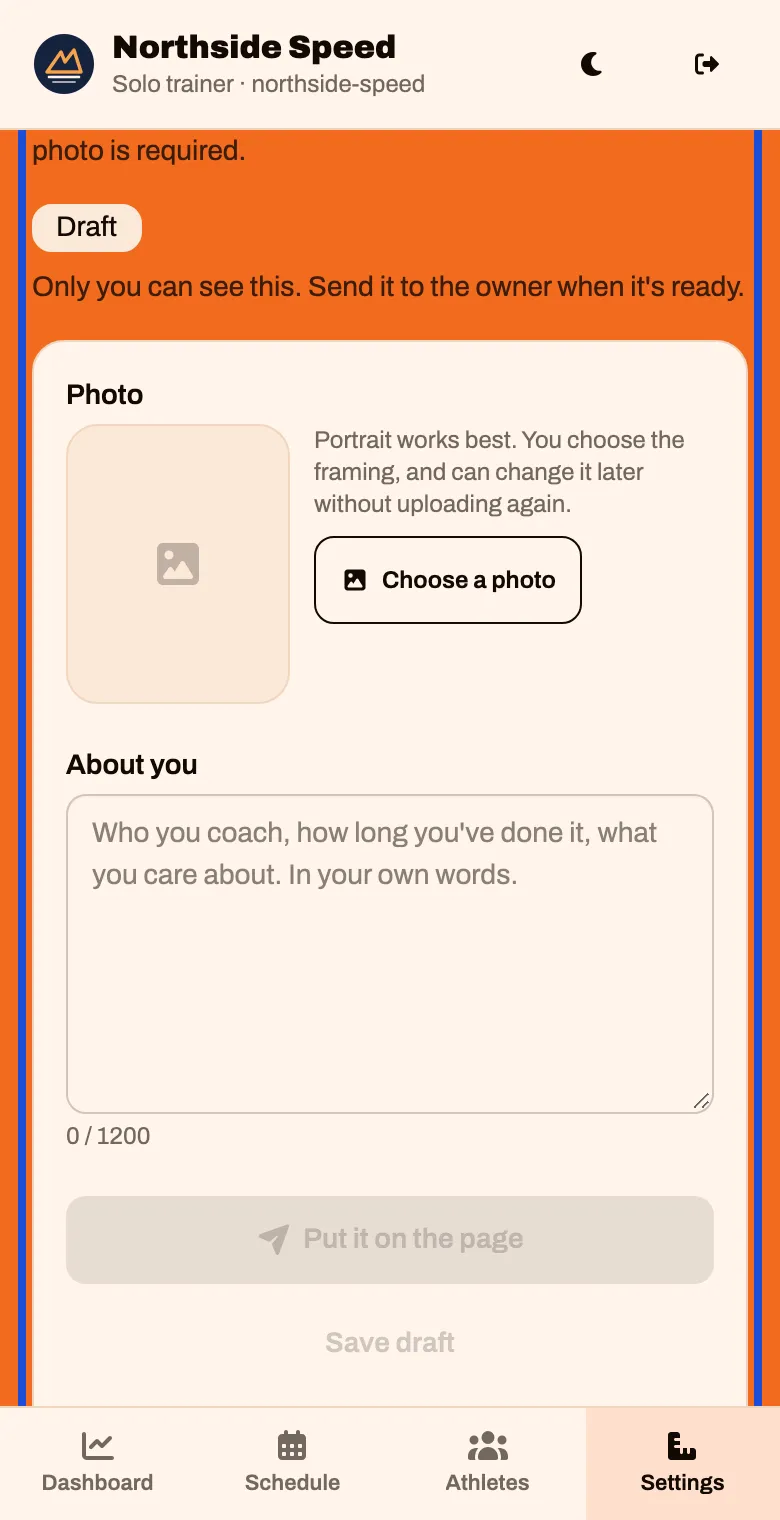
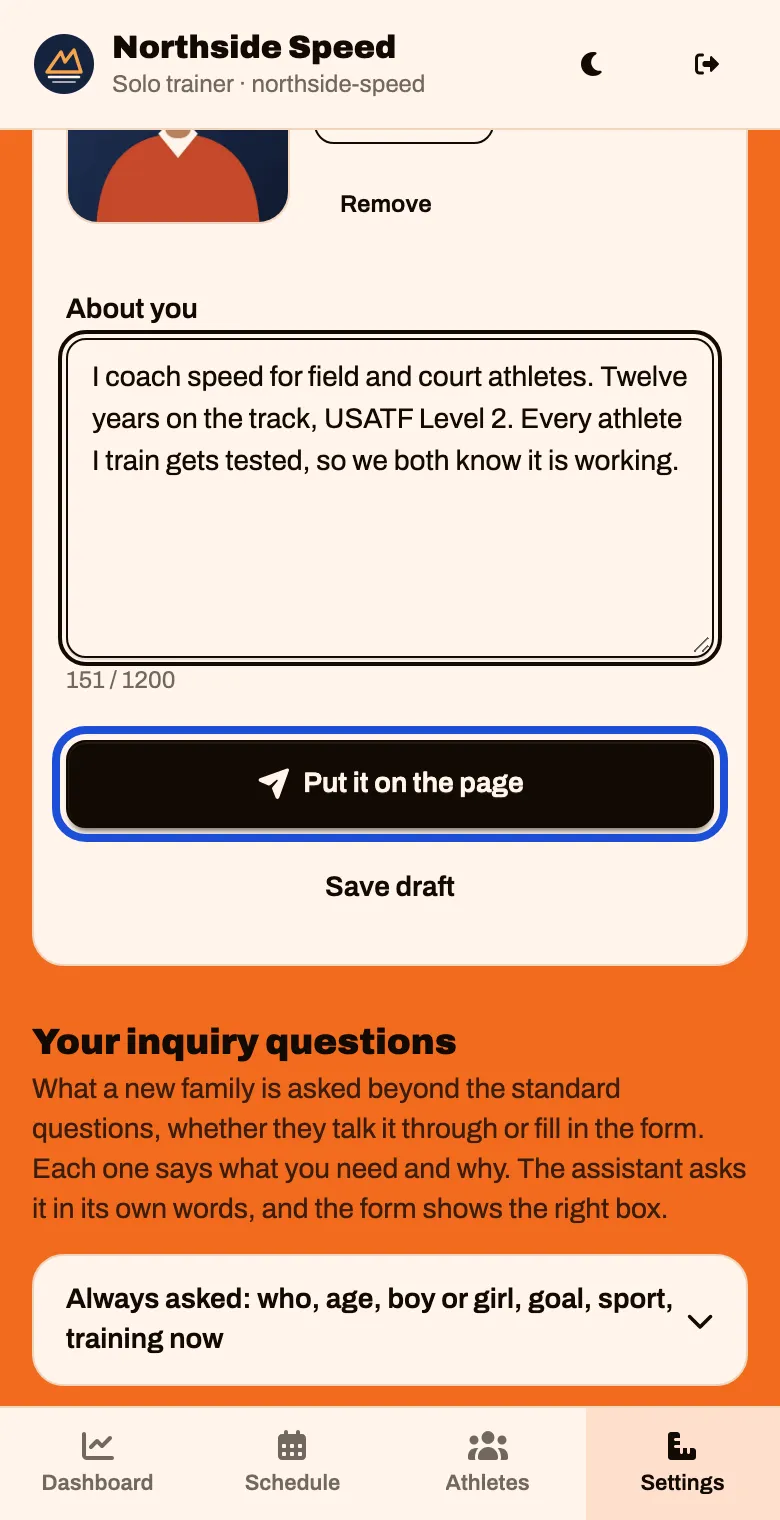
Add your Photo and write a few lines under About you. Tap Put it on the page
Both are needed. A portrait photo works best.
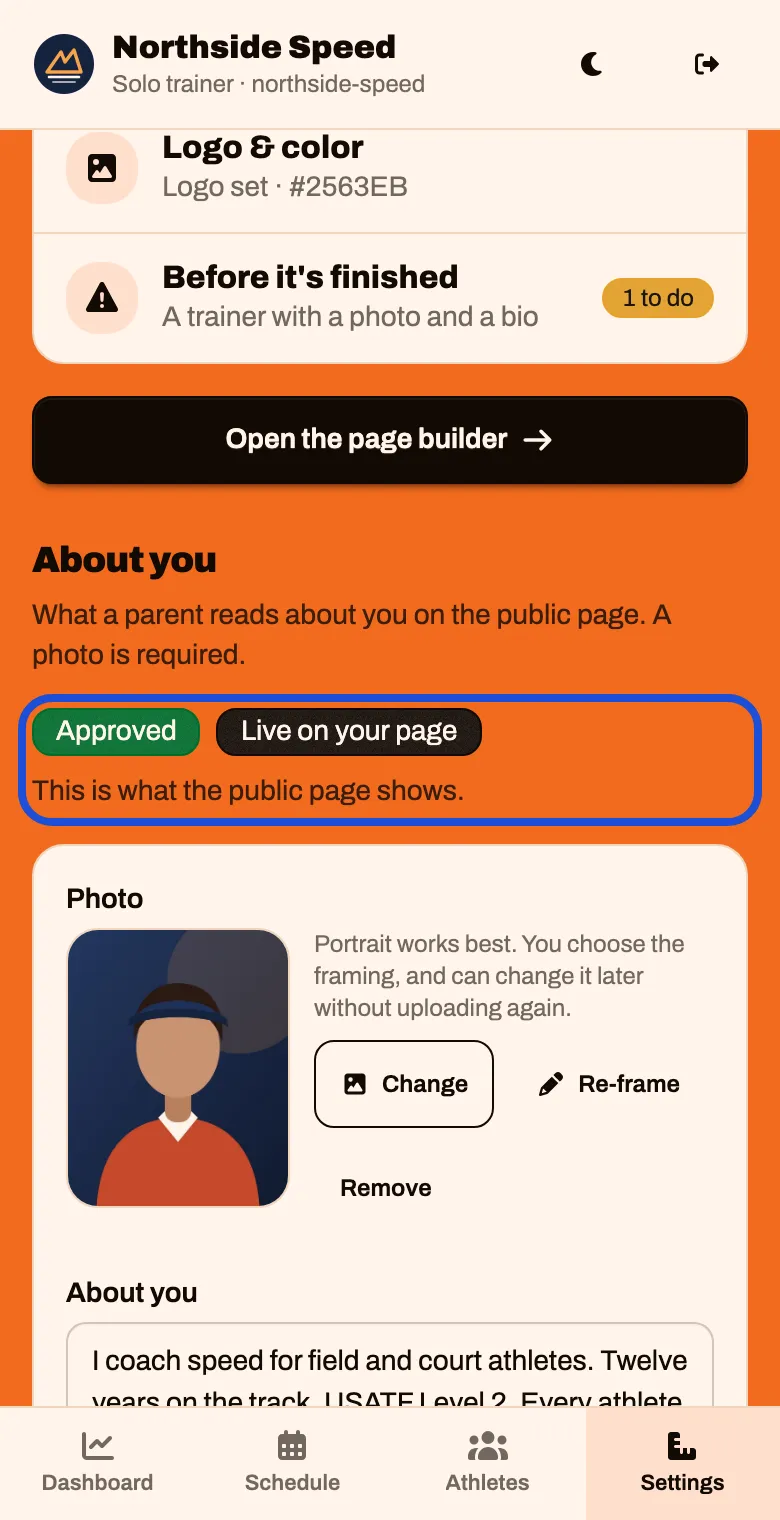
It now says Approved and Live on your page.
Your own inquiry questions (optional)
Every new family is already asked who is training, their age, their goal, their sport and what training they do now. Under Your inquiry questions you can add up to 6 of your own, like “Any injuries we should know about?”. Tap Add a question, then Save